
The tools used to create templates are on the OneAuthor ribbon. To create a new template from scratch:
1. Click on New Template. A clean new template document appears, unsaved on the screen. Use this as the base for your template
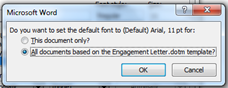
2. Using standard Word commands, set the default font and paragraph settings, including line spacing and paragraph spacing. Make sure you tick ‘All documents based on the (template name).dotm template?’
3. Set the default margins
4. Add the text to the template. This can be information typed in or copied in from another document
The editor
To add content controls to your template, click ‘Editor’ on the OneAuthor ribbon. The default appears as Core File Properties. Click the down arrow and select ‘OneAuthor Base Document Schema.’
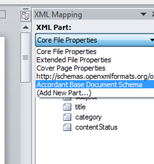
The folders show the different catagories of fields (ie: Author). All fields in that folder pertain to the folder name (see right of the screenshot below).
There are subfolders for the address codes. Multiline codes will enter an address on multiple lines. As many single line address codes can be entered and those not used will automatically be deleted. Use these codes if you want to bold the last line of the address.
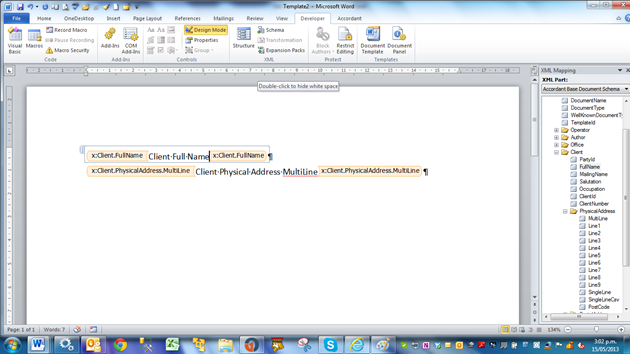
Click on the label you need (ie: Client FullName) and drag this to the point in the document where it should appear. A content control appears in your document. Change the label by simply typing in the content control.
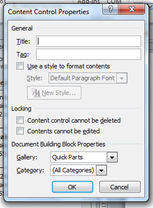
A content control is managed by using the ‘Developer’ ribbon. ‘Design Mode’ displays the content control and its tag name. Properties lets you set defaults for the content control. For the most part, these are automatically set when the content control is added.
NOTE: If you are using a Multiline Address content control, you must click the content control property to ‘Allow carriage returns (multiple paragraphs)’.
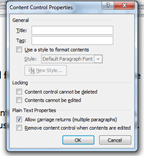
Use the title box to give the content control a title that appears in the document when you select the content control.
Save a template
When finished, click ‘Save Template’ and give the template a name. Type in the category name. It will automatically be stored in the correct place and will immediately appear on the Author Document list.
Create subcategories
To create a subcategory, type in the category name i.e. conveyancing followed by a “/” and the subcategory name (ie: Conveyancing/Purchase).
Edit template
To make changes to a template, select ‘Edit Template’ on the OneAuthor ribbon. Select the correct template and it will open. Make changes and click ‘Save Template’ when you are finished. The saved template will update the list automatically.
Delete template
To delete a template, open it and click ‘Delete Template.’ It will be removed from the list.
Create a template using base templates
Base templates are accessed using the 'Base Templates and Precedents' button on the OneAuthor ribbon.

The base templates and precedents are created from your templates. They have all your formatting and layout and include any macros that run when a document is created from a template.
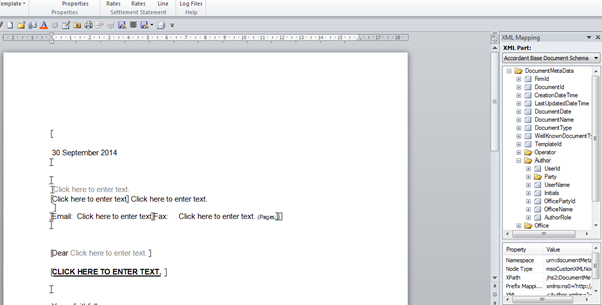
When working with templates, click ‘Bookmarks’ on the OneAuthor ribbon. Bookmarks look like grey uppercase I’s or square brackets (see image below). These cannot be deleted because they are used by the macros to identify places in the documents. When turned on, they only show on the screen; they don’t print. To help with formatting, click the Word paragraph formatting button. This helps to identify the formatting of the document.

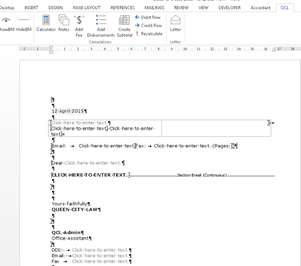
Find the bookmark between the subject line and closing. Copy the body of the text into here.
Save the template using ‘Save’ command on the OneAuthor ribbon.
When you use the template, the macros will run.
Create a precedent using base precedents
OneLaw products won’t manage a template. Therefore, in the base templates and precedents, the precedent folder holds doc.m (document with macros) files. The template mechanism in the OneAuthor button always creates a document copy of the template; with the precedents, users make a copy by managing their precedent. To use a precedent, open it and copy in or create your intellectual property. Save the precedent to a precedent folder.
Create dropdown lists in templates
A dropdown list is an easy way to allow users to select an option in a document. Word provides two types of controls to manage lists. The building block control allows you to save blocks of text. The ComboBox content control lets you create a list to choose from.

Create options using a building block control
1. We recommend creating your text options in the template you’ll be using them in. This way you guarantee the formatting is correct
2. Type out your list entries adding any required styles and formatting
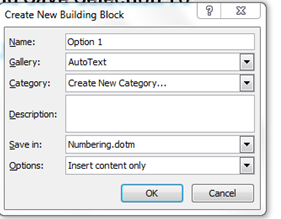
3. Select the entry and use insert quick parts auto text, save selection to auto text entry
- Give the entry a name
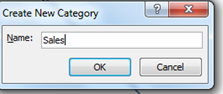
- Create a new category. The category is what stores all like entries used by a building block control
- Save the entries in the template
4. Continue as above until all your options are saved as auto text under the category
5. On the developer ribbon controls group, select the building block gallery content control and click in the template where you want the options to be entered

6. On the developer ribbon, click properties and type in a title to identify the content control. In the gallery, select auto Under the category, select the name you used to define the category for this group of auto text
7. Click OK and your drop-down list is ready to use
8. To add more options to the drop-down list, follow the instructions above and assign the auto text to this category and the option appears immediately
9. To edit your options, in the same template (for consistency with formatting), use ‘Insert Quick Parts Building Blocks.’ Find your auto text entry and insert it in the template. Make your changes and re-save as auto text using the instructions above
10. Save the template when you are finished. To use the building block control, users click on the down arrow and make their selection

11. NOTE: If you don’t have a developer ribbon, right click on your ribbon and select ‘Customize the Ribbon.’ On the right, click the developer ribbon
12. HINT: When selecting your building block text, be consistent about including or excluding the paragraph marker at the end of the selection. If you select it for one entry, select it for all and vice versa
Create a ComboBox control
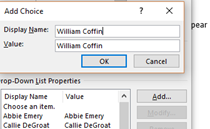
Use a ComboBox when a list is required. To add a ComboBox:
- Place your cursor in the document where you want it to appear
- Click on the ComboBox control on the developer ribbon
- Click on the control, then on the developer ribbon to add your list

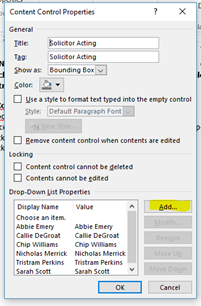
Users click on the down arrow to see the list and select their option.
HINT: Once a selection has been made, users may want to remove the content control and its options. To do this, right click on any control and click ‘Remove Content Control.’